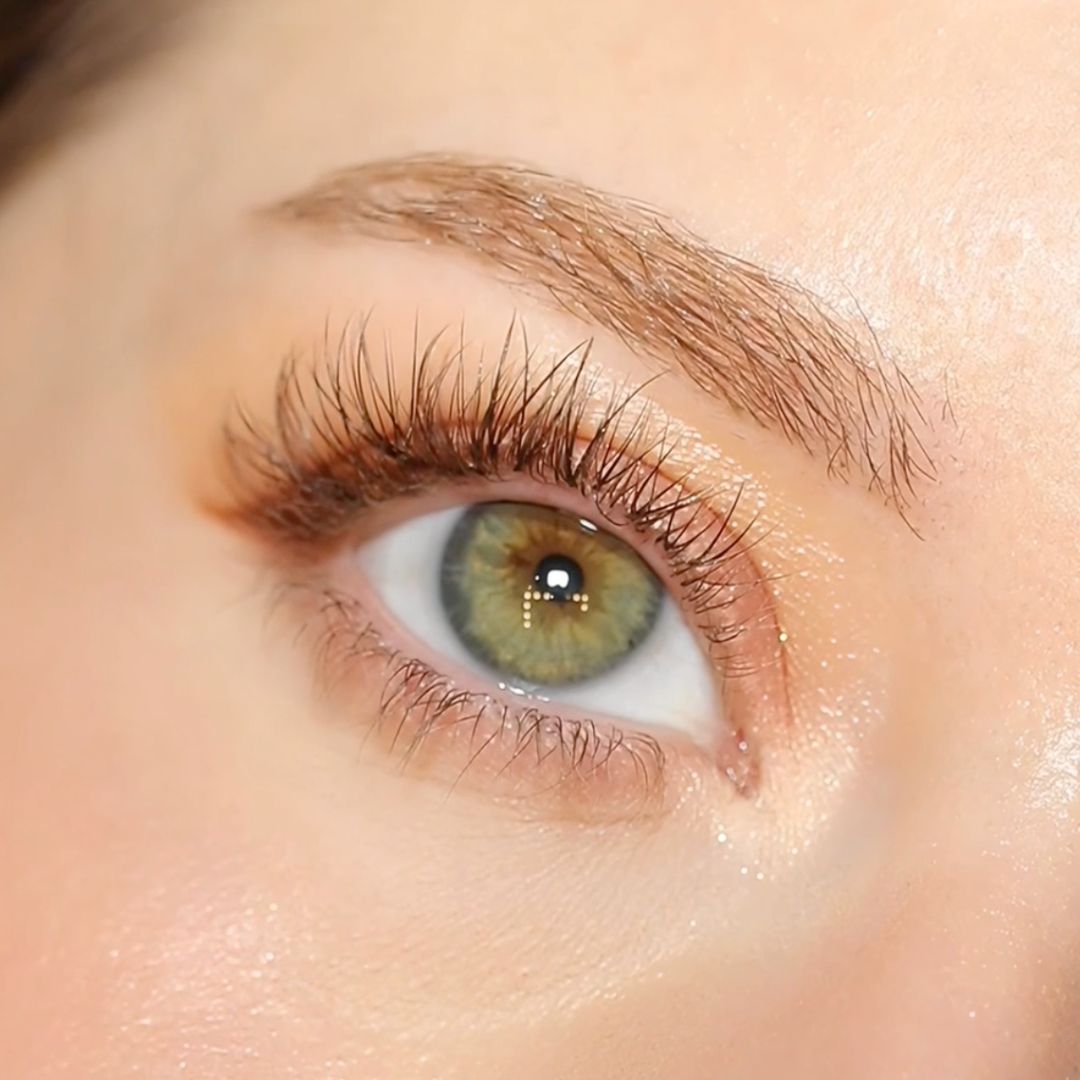
How to apply & care
Dark Swan of Denmark offers two types of lash adhesive: the mini white adhesive included with all of our lashes, ideal for daily use and beginners, and our IT’S ON! Pro Lash Adhesive for a longer-lasting, waterproof effect. For extra longevity, you can add IT'S ON! Pro Lash Seal & Protect on top. Both are available for separate purchase.

How to Apply Cluster Lashes with Mini Adhesive
- Prepare Your Lashes: Make sure your lashes are clean, dry, and oil-free.
- Curling your natural lashes at the beginning.
-
Apply Mini Adhesive: apply a thin layer of adhesive to the lash band on the cluster lashes. Wait until the adhesive becomes semi-transparent before proceeding.
-
Position the Lashes: Using the Lash Precision Applicator, gently place the cluster lashes close to the your natural lash line.
-
Press and Hold: Lightly press the cluster lashes against your natural lashes to ensure they adhere properly. Can adjust if need.
To remove: Use an oil-based waterproof eye makeup remover.
How to Apply Cluster Lashes with IT'S ON! Pro Lash Adhesive + IT'S ON! Pro Lash Seal & Protect
-
Prepare Your Lashes: Make sure your lashes are clean, dry, and oil-free.
- Curling your natural lashes at the beginning.
-
Apply IT'S ON! Pro Lash Adhesive:
- Method 1: Use the applicator to apply a small amount of adhesive ONLY to the base of your natural lashes.
- Method 2: Apply a thin layer of adhesive to the lash band on the cluster lashes.
- Extra Hold: For added durability, combine both methods.
-
Position the Cluster Lashes: Using the Lash Precision Applicator, gently place the cluster lashes close to the base of your natural lashes, Lightly press to ensure they adhere properly.
-
Apply IT'S ON! Pro Lash Seal & Protect: Once the adhesive has dried, dab a small amount of sealer at the base of the cluster lashes.
-
Clamp Lashes together using the Lash Precision Applicator.
-
Avoid Oily Products: Keep oily products away from the eye area. Reapply Seal & Protect after showering for extended wear.
To remove: Use an oil-based waterproof eye makeup remover.
Secret cluster lashes from light to maximum volume
How to apply strip lashes
PRO TIPS!
- Apply False Eyelashes Last: Always apply false eyelashes as the final step of your makeup routine.
- Mascara Application: You can apply mascara to your natural lashes before adding the false ones, but avoid applying mascara on the false lashes if you want to reuse them as much as possible.
- Use an Eyelash Curler: Feel free to use an eyelash curler before and after applying the false lashes for extra curl if need.
- Eyeliner: Before applying, draw a thin line of eyeliner to create a guideline, which also helps hide any gaps, this is especially useful for beginners.
- Wait for Glue: Ensure the glue is tacky before applying your false eyelashes for better adhesion. Wait until the glue is semi-transparent.
Step by step strip lashes application:
- Remove the Lash: Gently remove one lash from the tray using tweezers. Pull from the lash band to avoid damaging the lashes.
- Measure for Length: Measure the lashes against your eye to find the correct length (the false lashes should start a bit away from the inner corner of your eye).
- Trim as Needed: Trim any excess from the outer side of the false lashes to fit your eye shape.
- Apply Glue: Apply a thin layer of eyelash glue along the lash band. Wait about 30 seconds for the glue to become tacky before applying.
- Position the Lashes: Use a Pro Lash Applicator or your fingers to place the false eyelashes as close to your natural lash line as possible. Don’t stress if you need to reposition them; you have time to adjust before glue is dry. Make sure the entire lash band is securely glued to your skin, especially at both ends.


